
Changing the clutch on a car can seem like a daunting task, especially for those who are not mechanically inclined. However, with the right tools and a bit of patience, anyone can learn how to change a clutch.
In this article, we will guide you through the process step by step, in a language that is easy to understand.
Firstly, it’s essential to understand what the clutch is and why it needs to be changed. The clutch is a component that allows the driver to engage and disengage the engine’s power from the wheels.
When the clutch is engaged, the engine’s power is transmitted to the wheels, enabling the car to move. When the clutch is disengaged, the power is not transmitted, allowing the car to idle or come to a stop.
When Should I Change My Car’s Clutch?
Clutches typically need to be changed when they become worn or damaged, causing slipping, difficulty in shifting gears, or strange noises.
Before starting the clutch replacement process, make sure you have all the necessary tools and equipment. You will need a set of wrenches, sockets, screwdrivers, a jack, and jack stands.
Additionally, you will need a new and good quality clutch kit (like one from Ricambi Euro, for example), which includes a clutch disc, pressure plate, release bearing, and pilot bearing (if applicable).
Start by parking the car on a level surface and applying the parking brake. Next, place the jack under the car’s frame and raise it until the wheels are off the ground. Use the jack stands to support the car’s weight and prevent it from falling.
Once the car is securely lifted, remove the transmission from the engine. This can be achieved by disconnecting the driveshaft, the starter motor, and all electrical connections. Then, remove the bolts that hold the transmission in place, using the appropriate sockets and wrenches. With the bolts removed, carefully lower the transmission from the engine and set it aside.
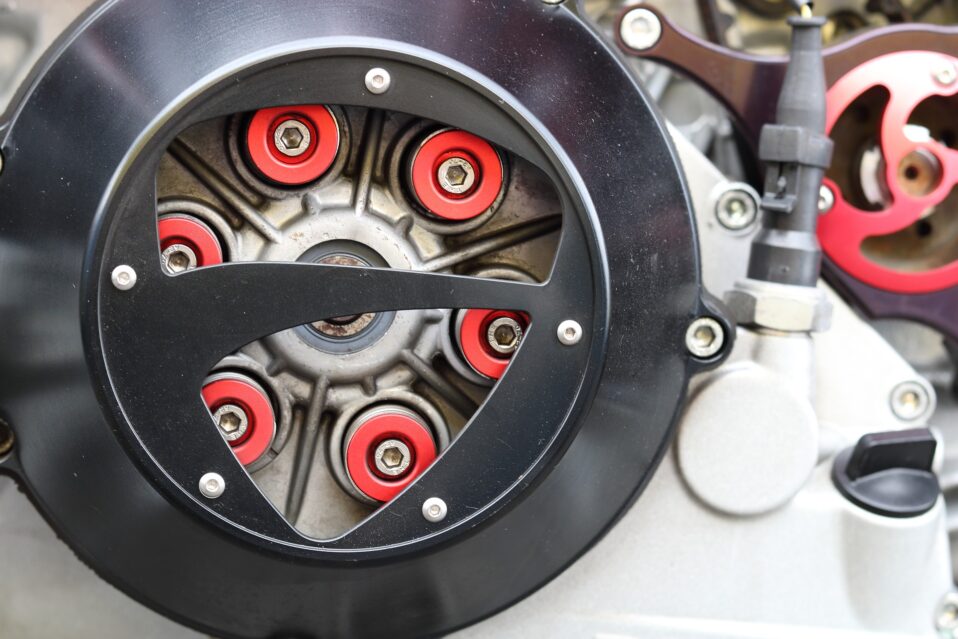
Once the transmission is removed, you can access the clutch assembly.
The first step is to remove the pressure plate by loosening the bolts that hold it in place. This is where the clutch alignment tool comes in handy. Use it to align the clutch disc with the pressure plate, making sure they are perfectly aligned.
Once the pressure plate is removed, you can remove the old clutch disc and the release bearing. Take the opportunity to inspect the flywheel for any signs of damage or wear. If the flywheel looks worn or has heat spots, it’s recommended to have it resurfaced or replaced.
With the old clutch removed, it’s time to install the new one.
Start by installing the new pilot bearing (if applicable) in the centre of the flywheel. Then, install the new clutch disc, making sure it’s correctly aligned with the pressure plate. Use the clutch alignment tool to ensure the alignment is perfect.
Once the new clutch disc is in place, install the new pressure plate and tighten the bolts in a star pattern to ensure even pressure distribution. Make sure the bolts are tightened to the manufacturer’s specifications, using a torque wrench.
With the new clutch installed, it’s time to reassemble the transmission. Carefully lift the transmission back into place, making sure it’s correctly aligned with the engine. Reconnect all the electrical connections, starter motor, and driveshaft. Then, tighten the bolts that hold the transmission in place, using the appropriate sockets and wrenches.
Finally, lower the car back to the ground and remove the jack stands. Start the engine and test the clutch by engaging and disengaging it while shifting through the gears. If everything feels and sounds normal, you have successfully changed the clutch on your car.
A Challenging Change
In conclusion, changing the clutch on a car can be a challenging task, but it’s not impossible.
By following the steps outlined above and taking the time to do the job correctly, you can save a lot of money on labour costs and ensure your car runs smoothly.
If you’re new to working on cars, it’s a good idea to start with simpler tasks before attempting to change the clutch. You may also want to consider working with a more experienced friend or consulting with a professional mechanic for guidance.
When purchasing a new clutch kit, be sure to select the appropriate one for your make and model of car. It’s also a good idea to purchase high-quality components to ensure longevity and optimal performance.
In addition to the tools and parts required, changing the clutch on a car requires patience and attention to detail. Take your time and double-check your work at every step to avoid mistakes or potential safety hazards.
It’s also important to note that changing the clutch on some cars may require additional steps or components. Always consult the manufacturer’s guidelines or seek professional advice if you’re unsure of what’s involved.
In short, changing the clutch on a car can be a challenging but rewarding task for those willing to put in the effort. By following the steps outlined above, using the right tools and parts, and taking the time to do the job correctly, you can save money and ensure your car runs smoothly.
With a little bit of practice, you may even find that performing your own car maintenance becomes a satisfying and rewarding hobby!